
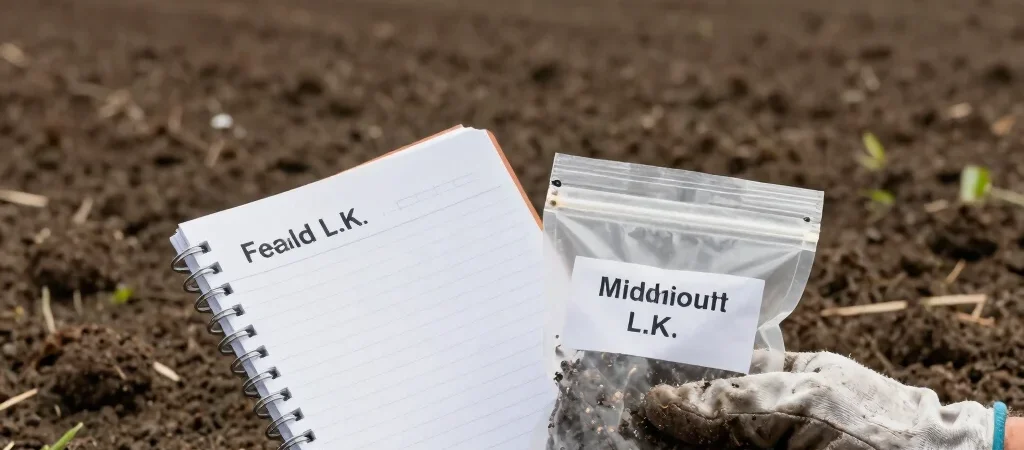
You pull a soil sample, send it to the lab, and get a result that does not match what the crop seemed to show. Before questioning the report, look at where the probe went. A few samples taken from unlike parts of a field can blur the differences you need to understand.
Choose a representative area
Keep areas with visibly different soils, drainage, crop history, or management separate when those differences matter to your decision. Avoid letting a small unusual patch define a larger sampling area, unless that patch is the specific concern. Field maps, yield history, and your own notes can help you decide where one area ends and another begins.
Make the route repeatable
Use a consistent pattern within each area rather than sampling only where it is easiest to stop. Stay clear of places that could skew the sample, such as field edges, old fertilizer bands, or spots where manure or lime was piled, unless you are intentionally testing those locations. Follow the laboratory’s instructions for sample depth, handling, and the number of cores.
Keep the context with the result
Record the field or zone, sampling date, depth, and any recent management that may help explain the numbers. If you use the site’s tool to organize or assess field information, check what its output represents and keep the original lab report alongside it. A result is most useful when you can compare it with the same area and sampling approach next time.